When protecting your vehicle's paint, the methods you choose can make a world of difference. One frequently asked question is whether Paint Protection Film (PPF) can be applied over areas with existing damage. It seems like a quick fix, but applying PPF over damaged paint isn't as straightforward as it sounds. While you technically can do it, the results may not meet your expectations. Any chips or scratches lying beneath the film can impact how well it adheres and looks once installed. In this article, we'll explore the ins and outs of applying PPF, especially when dealing with paint imperfections, so you can ensure your ride gets the protection it deserves without hidden surprises!
Yes,
PPF can be applied over existing paint damage, but it is generally not recommended as the imperfections may still be visible beneath the film, resulting in potential aesthetic issues. It’s advisable to address any significant surface damage, such as filling rock chips or correcting imperfections, before application to ensure optimal adhesion and appearance of the PPF.
Nature's Symphony
Application Conditions for Paint Protection Film
First and foremost, the surface where the PPF will be applied must be impeccably clean and free of debris. This means washing your vehicle with a pH-neutral cleaner and rinsing it thoroughly to remove any soap residue. After washing, make sure to dry the surface completely. Even a few drops of water can lead to air bubbles, so it’s best to be meticulous here.
Imagine setting a beautiful cake but realizing dust has settled on top—annoying, right? That's similar to how PPF can look if not correctly prepared.
Another critical aspect of preparation involves removing waxes or polishes. These residues can prevent proper adhesion of the film, leading to compromised performance. It might benefit you to use an alcohol-based cleaner specifically designed for automotive surfaces, as they can help dissolve any stubborn residues without damaging the paint. Think of this as cleaning a canvas before painting; a smooth, clean surface makes all the difference.
Humidity levels should also be kept in check during application. Try to ensure that humidity remains below 70%. High moisture levels can trap water under the film, causing bubbling and potentially impacting aesthetics and durability. A user story highlights this point well: he attempted an installation on a muggy day and regretted it when he saw multiple bubbles form underneath within hours.
Maintaining these ideal conditions not only minimizes challenges during application but also enhances the resulting bond between the paint surface and the film itself. Achieving optimal adhesion is like laying down a firm foundation for a building; without it, everything built on top becomes questionable.
Remember, if any damage exists beneath the PPF, like rock chips or scratches, addressing those issues before installation is key. Such imperfections can become more visible over time through the film, undermining its protective purpose.
After taking these steps to verify that your workspace meets all necessary criteria, you'll find yourself much more likely to achieve a smooth and successful PPF application. Careful preparation sets the stage for enhanced protection against environmental damages such as dirt, debris, and UV rays, keeping your vehicle looking pristine for years to come.
As we consider these essential factors for an effective installation process, it's important to explore the contrasting approaches one might take in putting this protection into place.
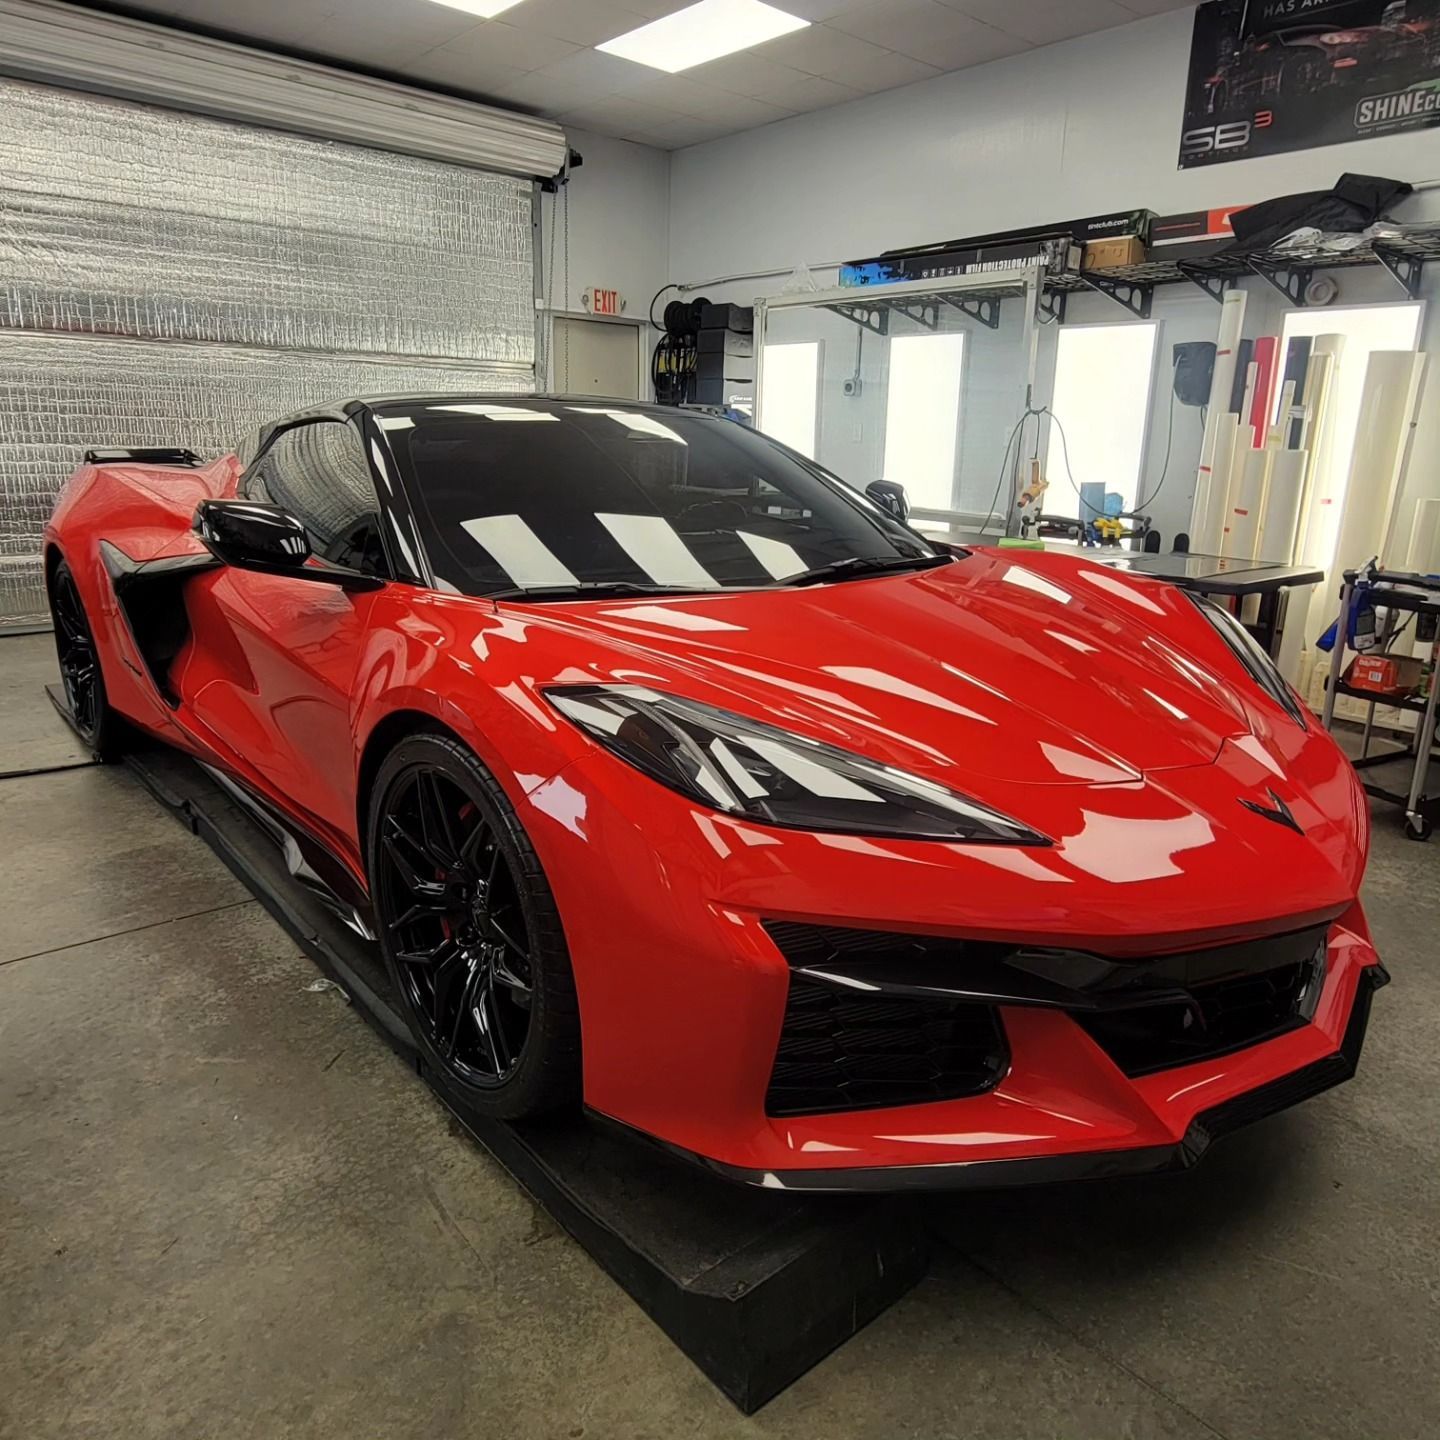
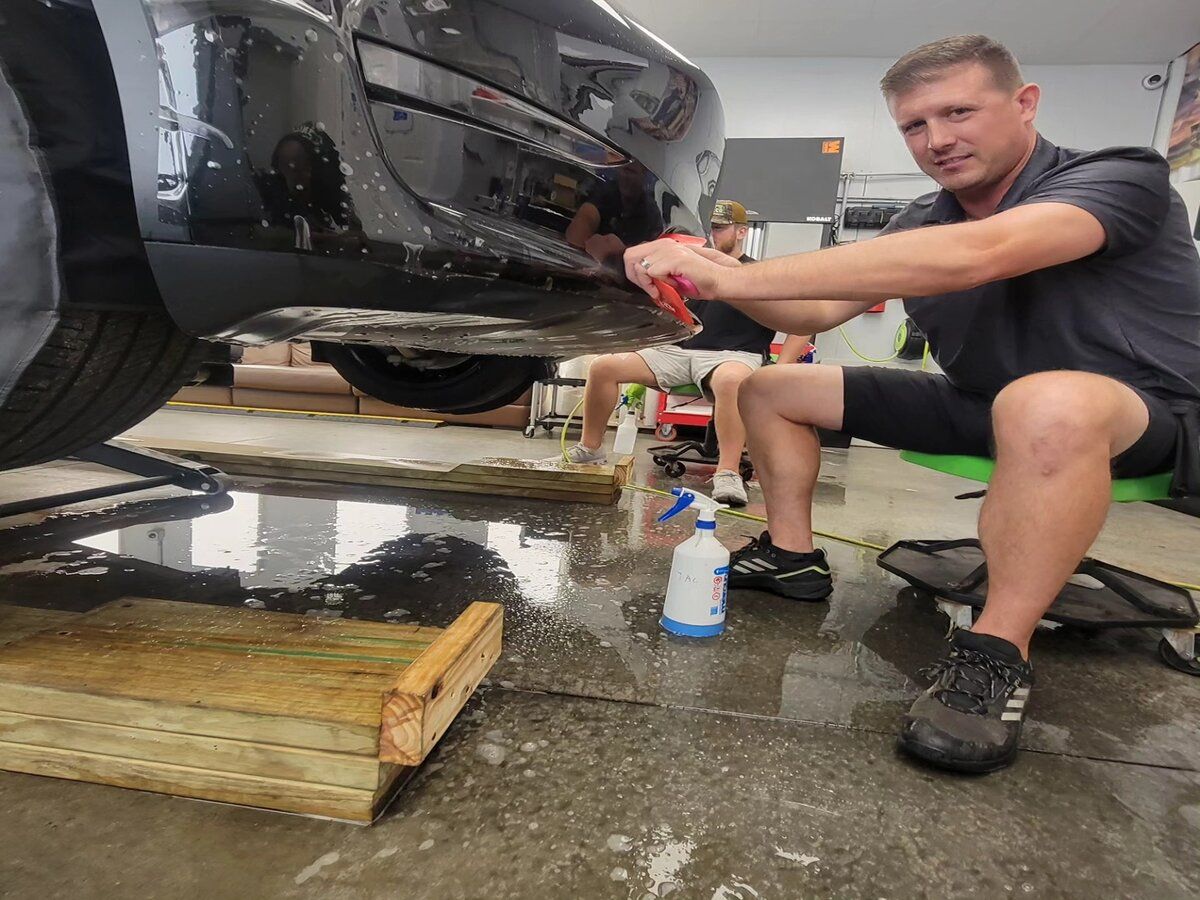
Professional vs. DIY Installation
Professional installers bring a wealth of experience and specialized tools that significantly enhance the likelihood of a successful installation. This expertise allows them to navigate the intricate details of applying PPF with ease, especially on complex surfaces. For example, a seasoned installer will use a heat gun to precisely stretch the film around curves and edges, ensuring that no air bubbles are trapped beneath the material. This technique requires a deft touch that can be challenging for beginners.
Data suggests that installations performed by professionals result in fewer long-term issues. A survey revealed that 65% of PPF installations carried out by professionals reported minimal bubbling or peeling compared to only 40% for DIY attempts. Aesthetic quality matters as well, and professional-grade materials often yield cleaner finishes and enhanced longevity.
So, is that professional expertise truly worth the extra cost? If you plan to keep your vehicle for several years or anticipate reselling it in the future, investing in professional installation may bolster its value significantly.
Notably, while DIY installations may seem appealing due to their cost-effectiveness, they come with caveats. Without proper experience and knowledge about adhesive techniques, novice applicators might struggle with achieving a flawless finish. It's crucial to conduct a thorough self-assessment before making this choice; perhaps you're an avid hobbyist who loves tackling projects, or maybe you prefer handing over the reins to someone with proven skills.
Regardless of your choice between professional assistance or a DIY project, understanding how to handle any existing paint issues before applying protective films will greatly influence your results.
Benefits of PPF on Repaired Paint
Once the paint damage is properly addressed, applying PPF can serve as a robust shield for those freshly repaired areas. Imagine this: you’ve just invested time and money into ensuring your car looks its best. By applying PPF, you add a layer of protection that’s like a safety net against the wear and tear that comes from daily driving.
The primary benefit of PPF is its impressive ability to guard the new paint from future chips and scratches. Every time gravel kicks up or a shopping cart rolls unchecked in a parking lot, your vehicle is at risk. With PPF in place, these threats are significantly minimized. The film acts as a barrier, absorbing impacts that would otherwise affect the integrity of your paintwork.
According to industry data, vehicles equipped with PPF can require up to 40% fewer touch-up repairs over their lifespan compared to those without. This means savings, not just financially or in terms of time, but also peace of mind knowing that your vehicle looks pristine longer.
Another widespread advantage of PPF is its inherent self-healing properties. Minor scratches and swirl marks can vanish when subjected to heat, either from the sun or even a warm wash. This magic keeps your vehicle looking newer for longer periods, reducing the frequency you need to take it back into the shop for touch-ups.
However, it's crucial to remember that these benefits will only manifest if common mistakes are avoided during application, which can compromise performance and diminish the longevity of your investment in PPF. With proper understanding and careful installation, you can ensure that your protective film performs at its best.
Common Mistakes to Avoid
One of the most detrimental missteps when applying Paint Protection Film (PPF) is failing to clean the surface thoroughly. Think about it: a mouse in a clean room makes for less sneezing. Similarly, any dust or dirt trapped beneath the film compromises adhesion and creates unsightly bubbles that can ruin your otherwise perfect finish. Imagine placing a beautiful layer of frosting over a cake that’s sprinkled with crumbs—the underlayer will always show through, and the result won’t be as pleasing.
In addition to a proper cleaning routine, alignment plays a critical role in how well PPF performs. It’s surprisingly easy to misalign the film during application, especially if you’re trying to rush through the installation. Misalignment puts your vehicle at risk; areas may remain unprotected from environmental hazards or contaminants, essentially nullifying the purpose of applying PPF in the first place. Rather than settling for an imperfect application, take the time to ensure every edge and corner is perfectly placed before pressing it down.
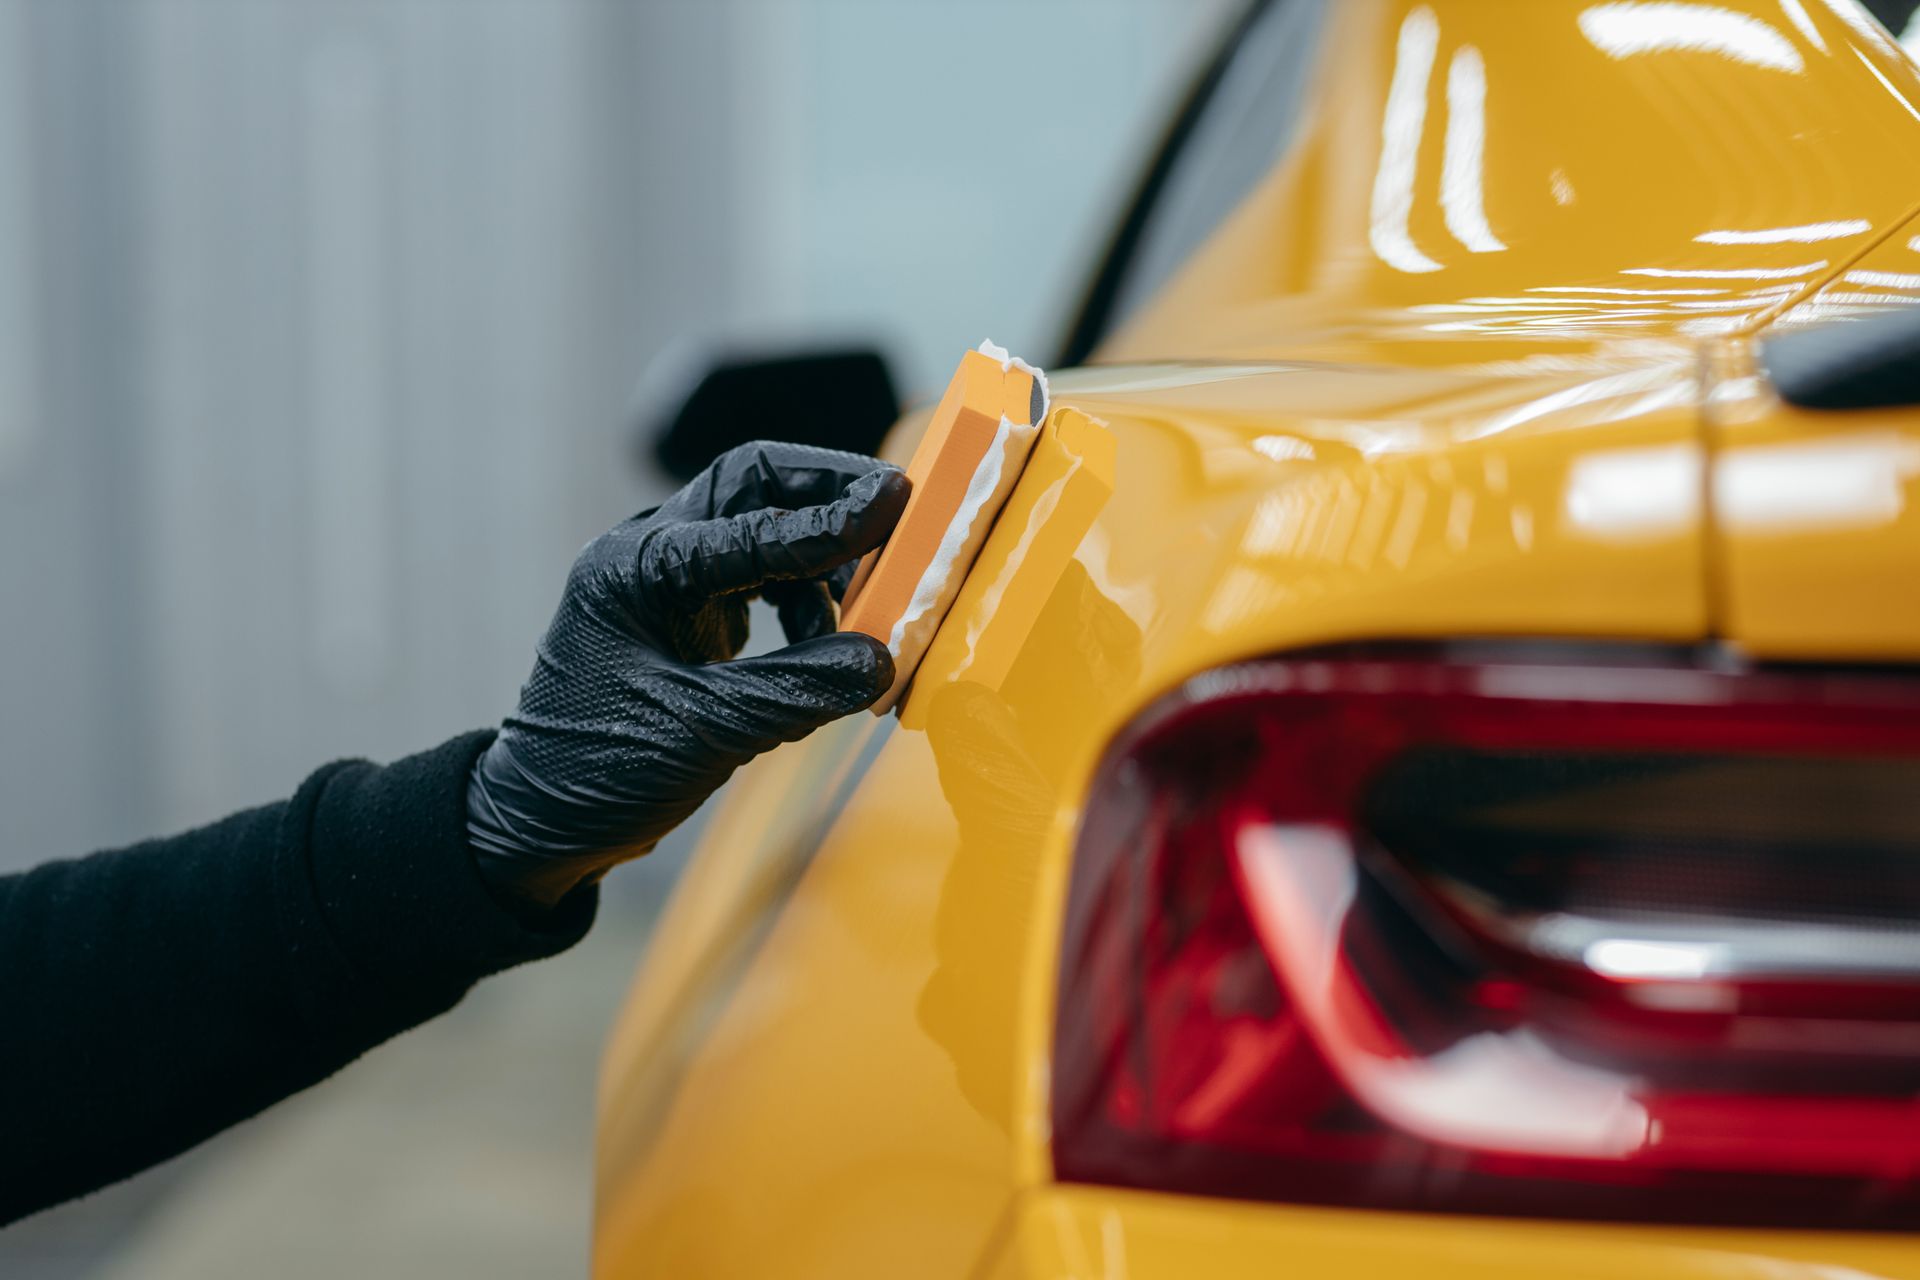
Another frequent rookie error is skipping the squeegee step entirely, which arises from impatience or a lack of understanding of its significance. The bubble removal process using a squeegee is vital for ensuring that your film adheres well to the car's surface. Neglecting this part can lead to visible bubbles and wrinkles, as well as premature lifting or peeling of the film.
Key Mistakes to Avoid:
- Not cleaning the surface properly
- Misaligning the PPF
- Skipping the bubble removal step with a squeegee
- Applying in improper weather conditions
Being mindful of these common pitfalls lays a solid foundation for application success. Now, let's explore insights from industry experts that can elevate your results even further.
Expert Tips for Best Results
When it comes to applying paint protection film (PPF), following expert advice can make all the difference. Firstly, it’s crucial to work in a clean, controlled environment. Dust and debris might seem minor, but even tiny particles can compromise the film's adhesion, leading to difficult imperfections—if not impossible—to fix later.
Imagine applying a perfect sheet of wrap only to see dirt trapped beneath it; that would be frustrating!
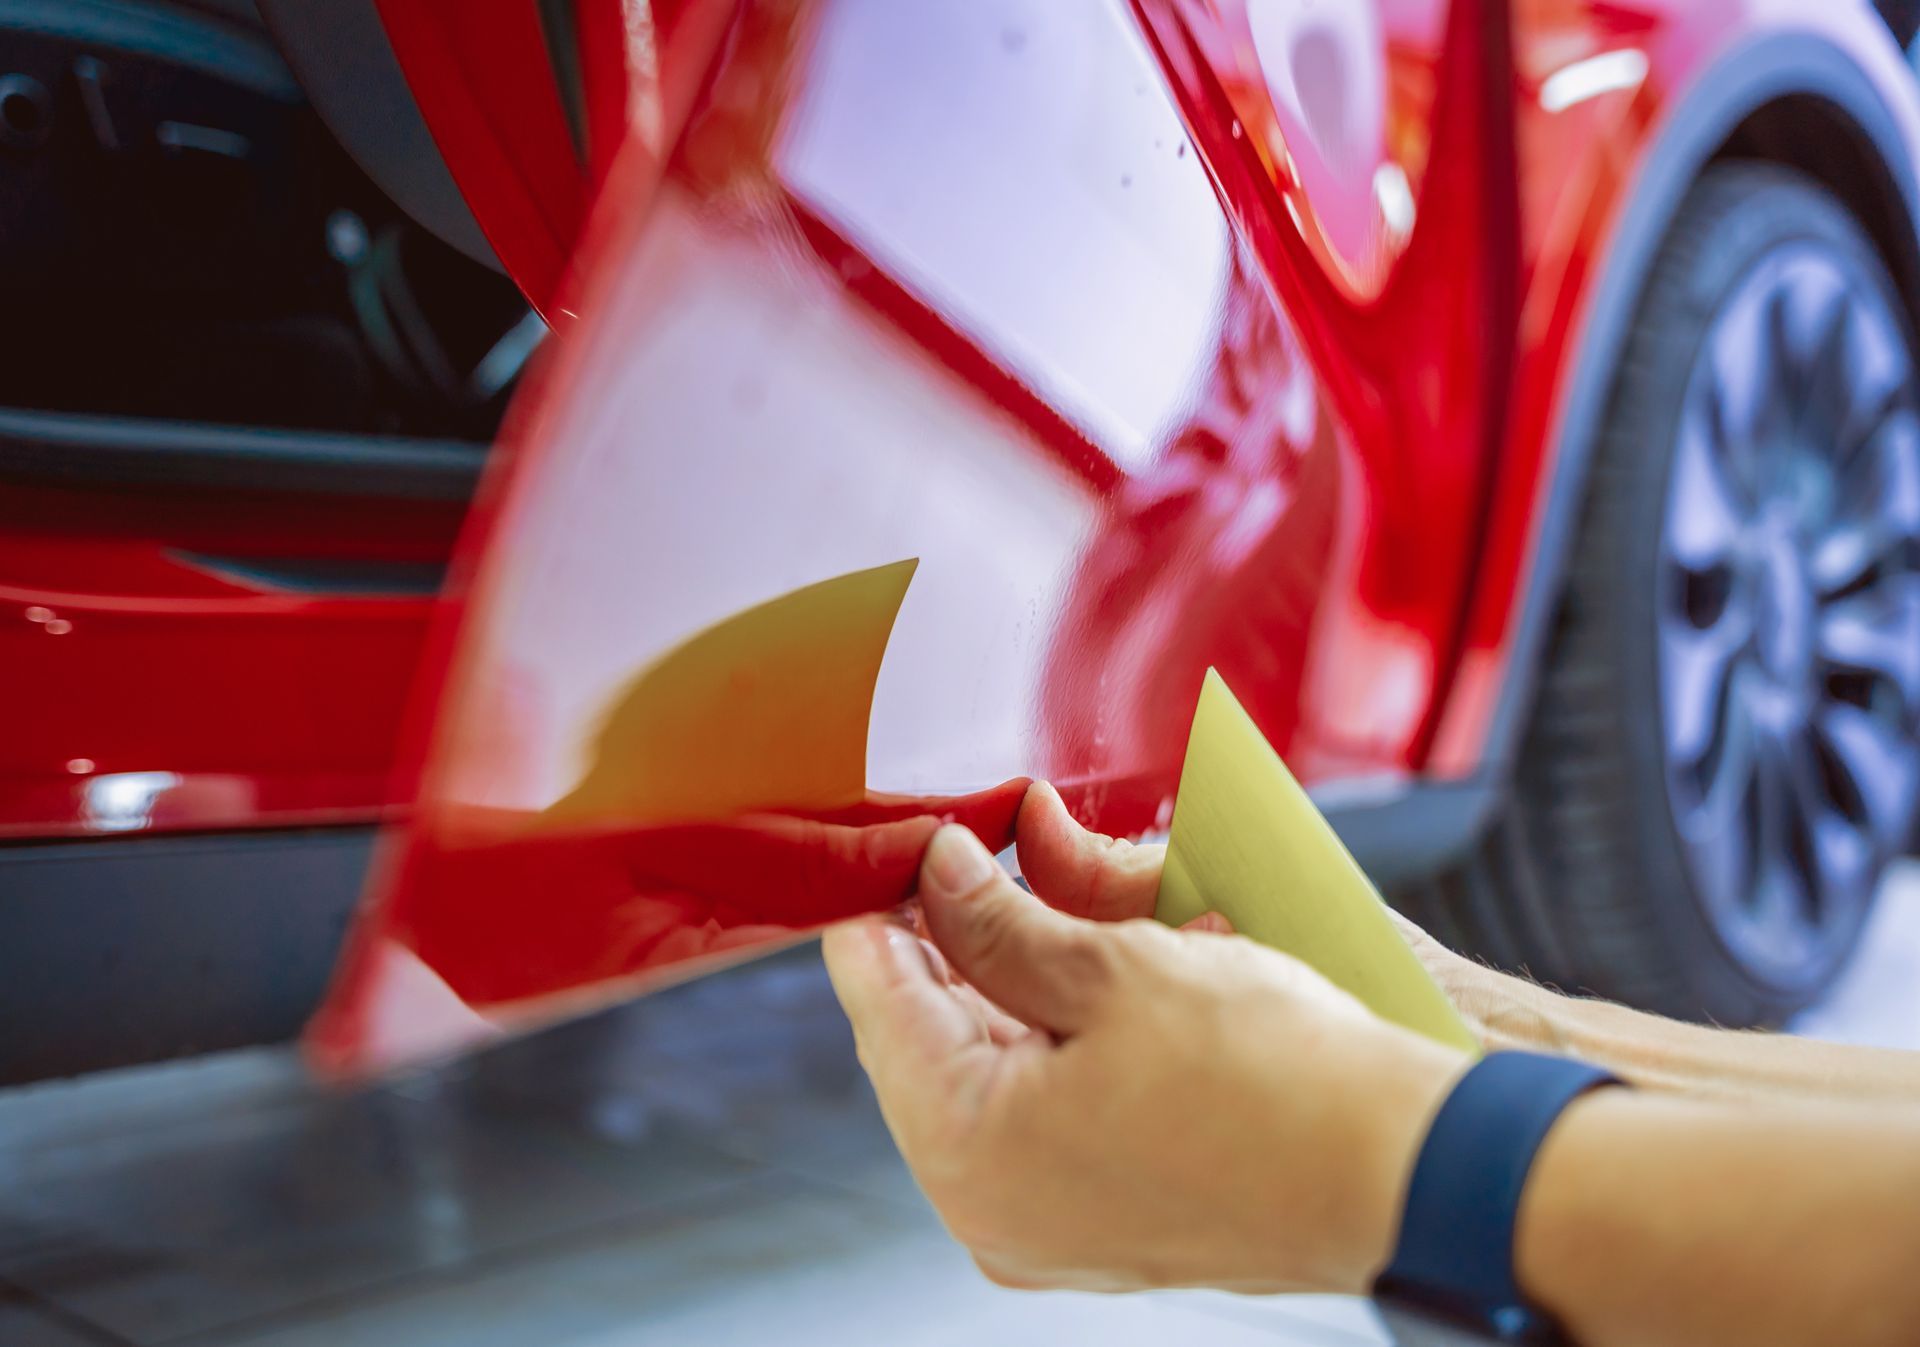
A recommended approach is to use a slip solution, which is typically a mixture of water and a few drops of baby shampoo. This concoction serves two purposes: it allows you to easily slide the film into position before it adheres and provides just enough lubrication to help you avoid any accidental scrapes or misplacements.
Think of it as creating an easy glide path for the film to settle onto your vehicle’s surface.
Now that you’re set with your slip solution, let’s talk about applying heat. Many professionals advise using a heat gun sparingly, particularly when you need the film to conform to complex curves on your car. By gently warming the film, you increase its flexibility and ability to mold around edges, resulting in a snug fit.
However, be cautious—too much heat can cause damage or melting! A quick rule of thumb is to keep the heat gun moving rather than staying in one spot too long.
As you work the film into place, pay careful attention by focusing on one section at a time. Spreading the film over large areas too quickly may lead to misalignment, and nobody wants air bubbles ruining their hard work! Concentrate on smoothing down each segment, allowing for adjustments as needed. Utilize a squeegee designed for PPF installation to push out any trapped air effectively while ensuring that it's adequately adhered.
Following these steps will help ensure that your PPF installation looks professional and lasts as long as possible.
Finally, don’t forget to inspect your work continuously. Check along the edges for proper adhesion and make sure no dust has slipped under during application. Remember, perfection lies in the details! By combining these expert tips with patience and care, whether you're tackling a DIY project or enlisting professional assistance, you're setting yourself up for success every time you apply PPF.
With these insights in hand, you'll have everything you need to achieve a flawless finish that protects your vehicle's paint job beautifully.
To ensure your PPF is applied perfectly and gains maximum longevity, consider reaching out for professional assistance at
Shine Co. You can also call us directly at (864) 809-4385 for expert guidance.
About the Author
Thomas Kyle Simpson
Thomas Kyle Simpson is the Owner of ShineCo LLC with over 20 years of experience in automotive detailing. Specializing in paint correction, ceramic coatings, and PPF, he leads a nationally recognized team committed to quality and customer satisfaction. His passion-driven approach continues to shape ShineCo’s reputation for excellence.