Ceramic coatings have become a popular choice for car owners who want long-lasting paint protection and a glossy finish. Over time, however, even the best coatings begin to wear down. When it’s time to refresh that shine, simply layering a new coating on top won’t do the job—you need to completely remove the old layer first. If you’ve never tackled this before, it might seem intimidating, but with the right steps, the process is manageable and straightforward.
Before diving in, it’s important to understand that while DIYers can perform these steps, ceramic coating removal and reapplication is one of the most skill-sensitive processes in automotive care. A single mistake—such as over-polishing, incorrect sanding, or uneven surface prep—can visibly damage paint or compromise the longevity of the new coating. That’s why many vehicle owners ultimately trust professionals for this job, especially when working with high-end coatings and dark-colored vehicles that show imperfections easily.
Still, if you’re determined to handle the process yourself or simply want to understand what’s involved, this guide walks you through each phase of safely stripping off the old ceramic coating and preparing your vehicle for a flawless new application.
Quick Answer: How to Remove Ceramic Coating
To remove an existing ceramic coating, start by using a medium-grade polish with a suitable polishing pad. This breaks down the protective layer without harming your paint. After polishing thoroughly, clean off all residue and test the surface by spraying water. If the water no longer beads or repels, the coating has been effectively removed and the surface is ready for a fresh ceramic coating.
However, keep in mind that the accuracy of this test depends heavily on proper prep. Many DIY attempts fail not because the product is flawed, but because the surface wasn’t fully stripped. Professional installers use specialized inspection lighting, precise polishing techniques, and paint-safe solvents to confirm complete removal before re-coating.
Step I Prepping Your Vehicle Surface
Before polishing or using any abrasive compounds, the first step is to give your vehicle a thorough wash. The goal here isn’t just to make the car look clean—it’s to remove loose dirt and grit that could scratch your paint during the polishing process.
The two-bucket method remains the gold standard in the industry. One bucket holds clean rinse water, the other holds soapy water mixed with a pH-balanced car shampoo that cleans effectively without stripping the clear coat. Using microfiber wash mitts and drying towels with at least 300 GSM ensures gentle contact with your paint, preventing unnecessary swirls or micro-marring.
Once surface dirt is removed, you may notice the vehicle feels smooth—but appearances can be deceiving. Embedded particles still lurk beneath the surface, and these must be removed before you proceed.
Step II – Decontamination
Even after a proper wash, contaminants such as brake dust, tree sap, industrial fallout, and microscopic iron particles remain. These contaminants bond tightly to the paint, and if you polish over them, they can create swirls or block proper ceramic coating adhesion.
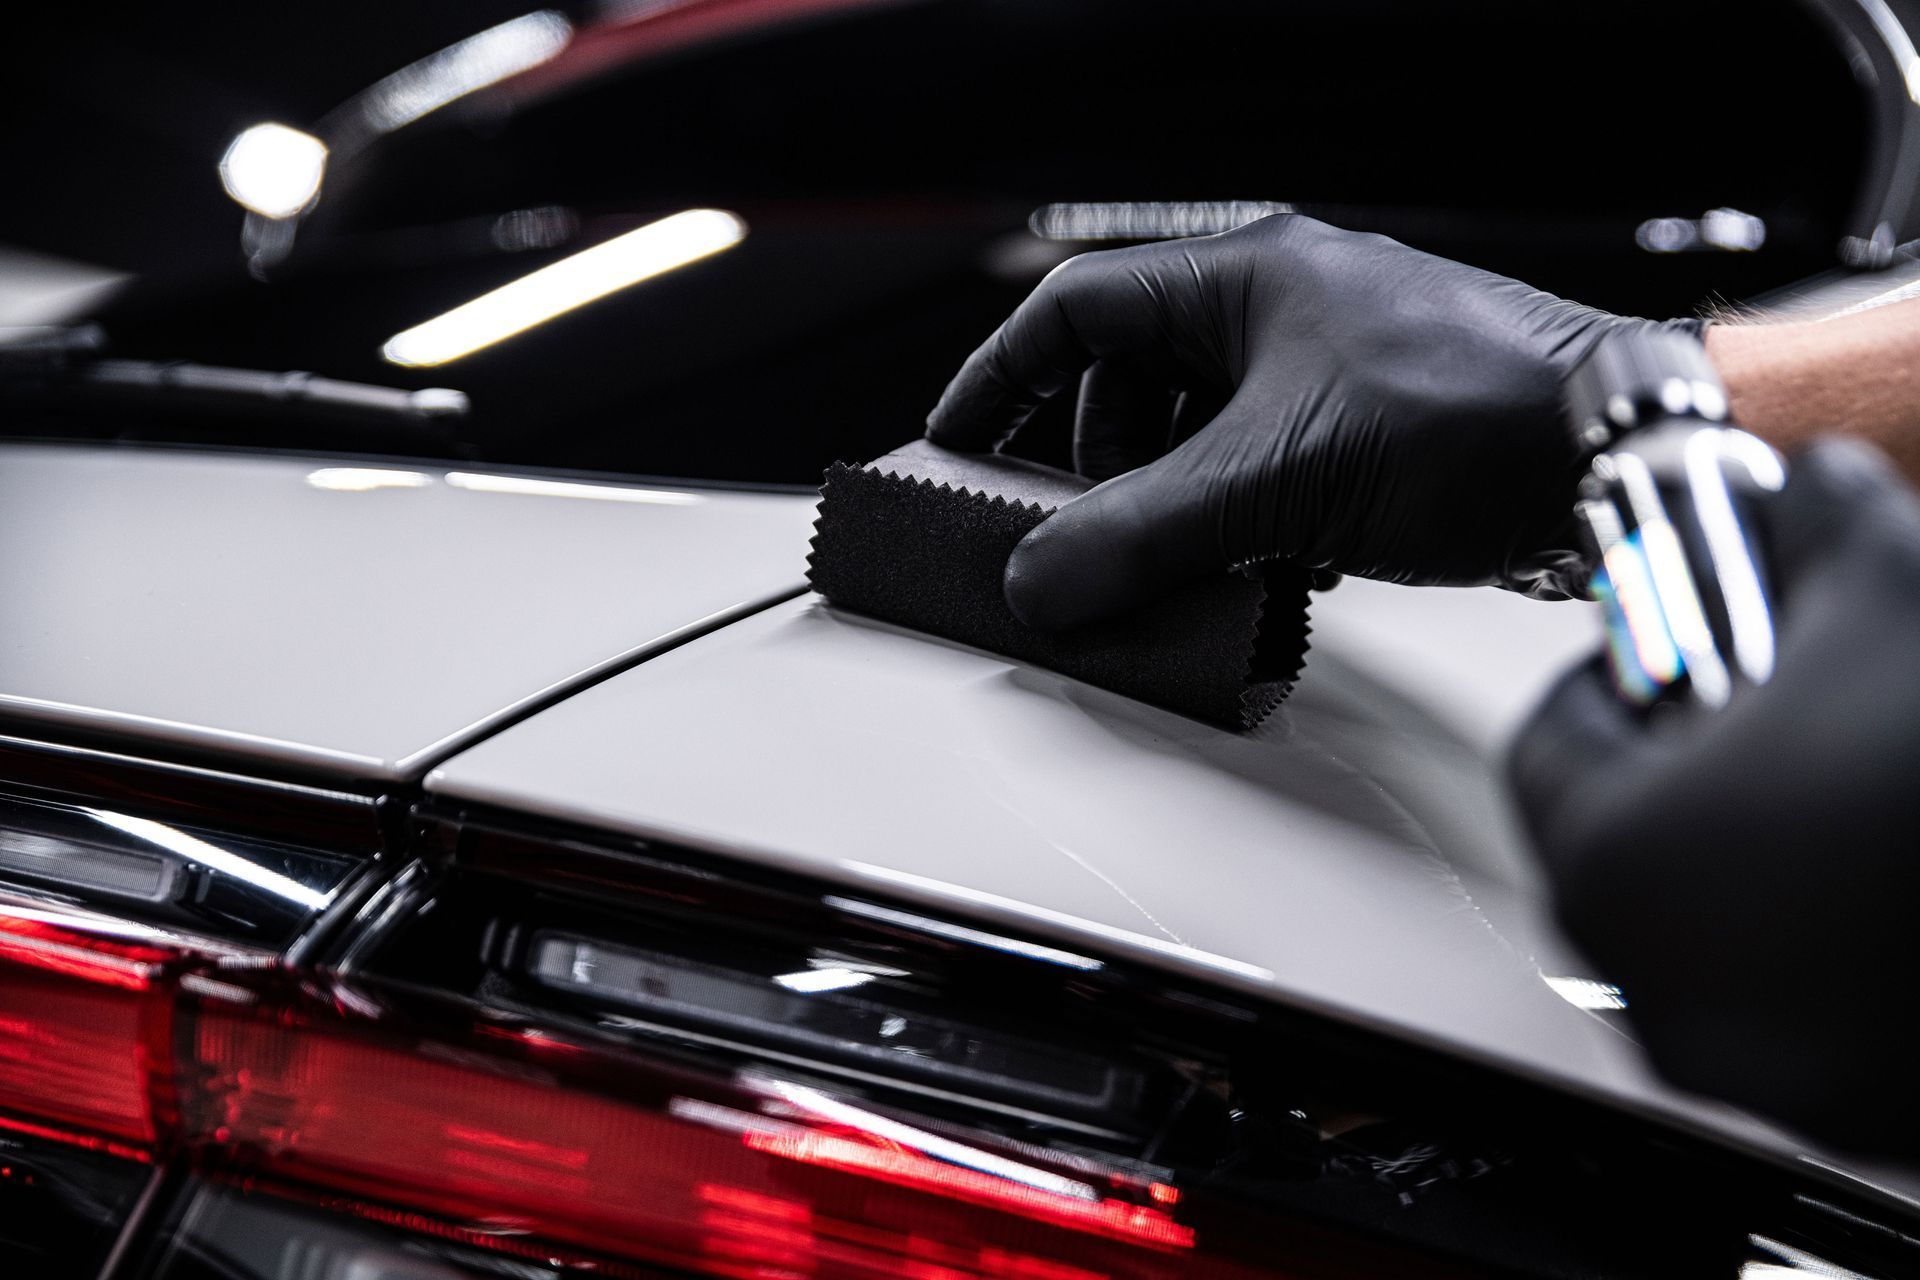
A clay bar treatment is essential at this stage. When you glide a well-lubricated clay bar across your paint, it acts like an ultra-fine scrubber that lifts contaminants without damaging the clear coat. Using a quality lubricant prevents dragging, protects the finish, and ensures the paint remains smooth for the next steps.
A clean, contaminant-free surface is critical because ceramic coatings chemically bond to paint. Any residue or debris trapped beneath the new coating will compromise durability and gloss, often resulting in high spots or patchy areas.
Step III – Masking Sensitive Areas
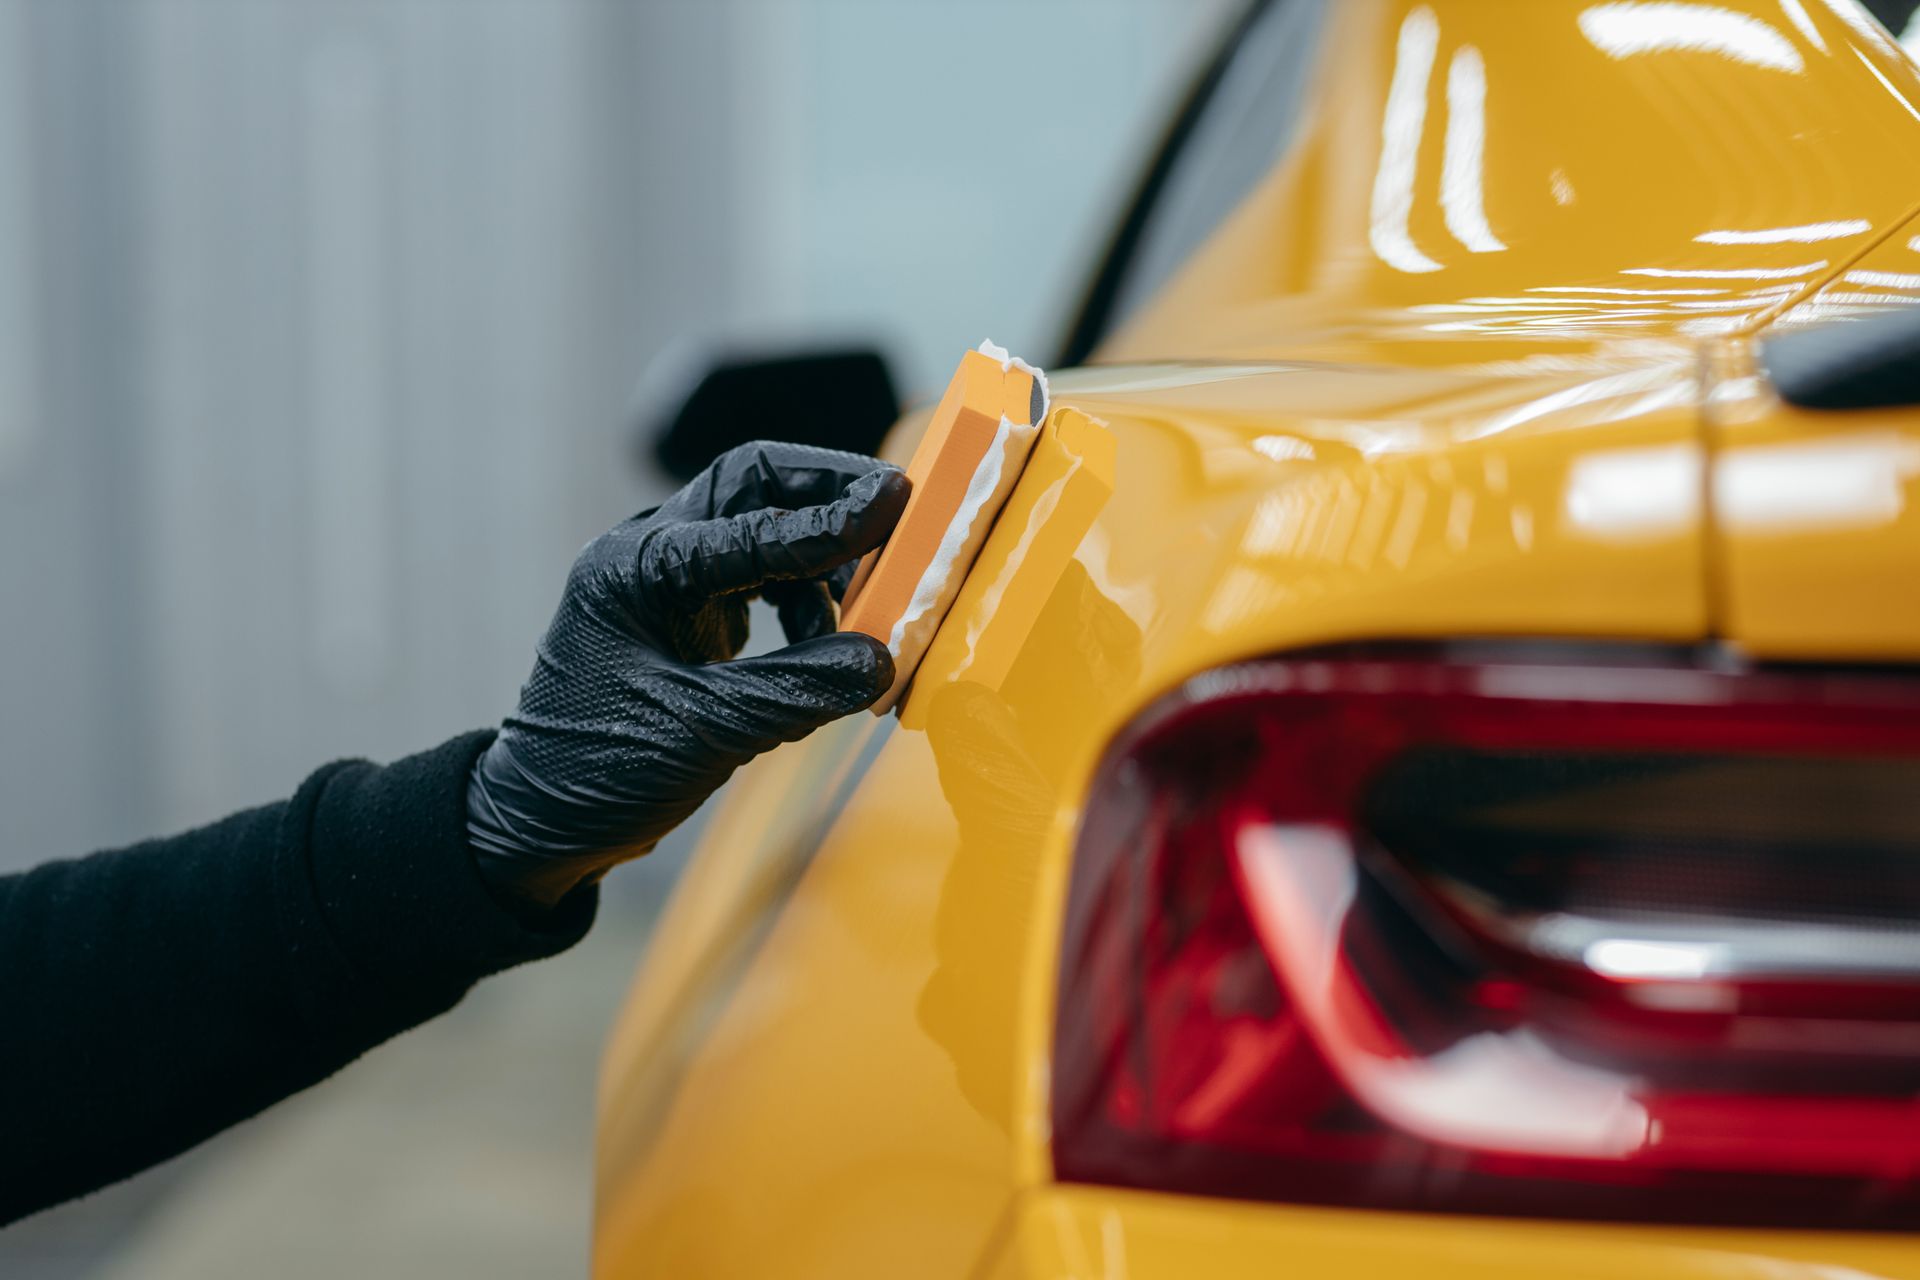
Polishing requires precision, and friction or abrasive pressure can damage vulnerable sections of your vehicle. Before starting, use automotive masking tape to shield rubber seals, plastic trim, badges, edges of panels, and textured surfaces.
Masking might seem tedious, but skipping this step can create polishing stains or permanently burn thin edges of paint. Professionals spend a surprising amount of time masking because they know that clean lines and protected edges make or break a final result.
A meticulous masking job sets the stage for a safe and controlled coating removal process.
Cleaning and Residue Removal
Even with washing and clay decontamination, certain oils, waxes, or remnants from older coatings can remain. These residues interfere with the new ceramic coating’s ability to bond. A final cleansing step using a diluted isopropyl alcohol (IPA) solution—typically mixed 1:1 with distilled water—ensures the paint is perfectly bare.
Wipe panels with a soft, high-GSM microfiber towel and avoid aggressive scrubbing. Work in the shade, ideally between 60°F and 75°F, to avoid streaks or premature evaporation.
If water beads on the panel after IPA wiping, it means contamination is still present. Repeat the process until water sheets cleanly off the surface.
Professionals often use specialized panel prep solvents that outperform standard IPA mixes—another reason to consider expert installation if you want maximum coating longevity.
Choosing the Right Removal Method
Not all ceramic coatings wear down the same way. Some coatings are extremely durable and resist polishing, requiring more aggressive removal methods. Others degrade unevenly, making the removal process unpredictable.
There are two primary removal techniques:
Chemical Removal
Paint prep solutions formulated to break down ceramic coatings can weaken the bond, making removal easier. This is fast, but requires caution—cheap or misused chemical strippers can damage paint, discolor plastics, or create uneven dull spots.
Testing on a small, hidden area is essential.
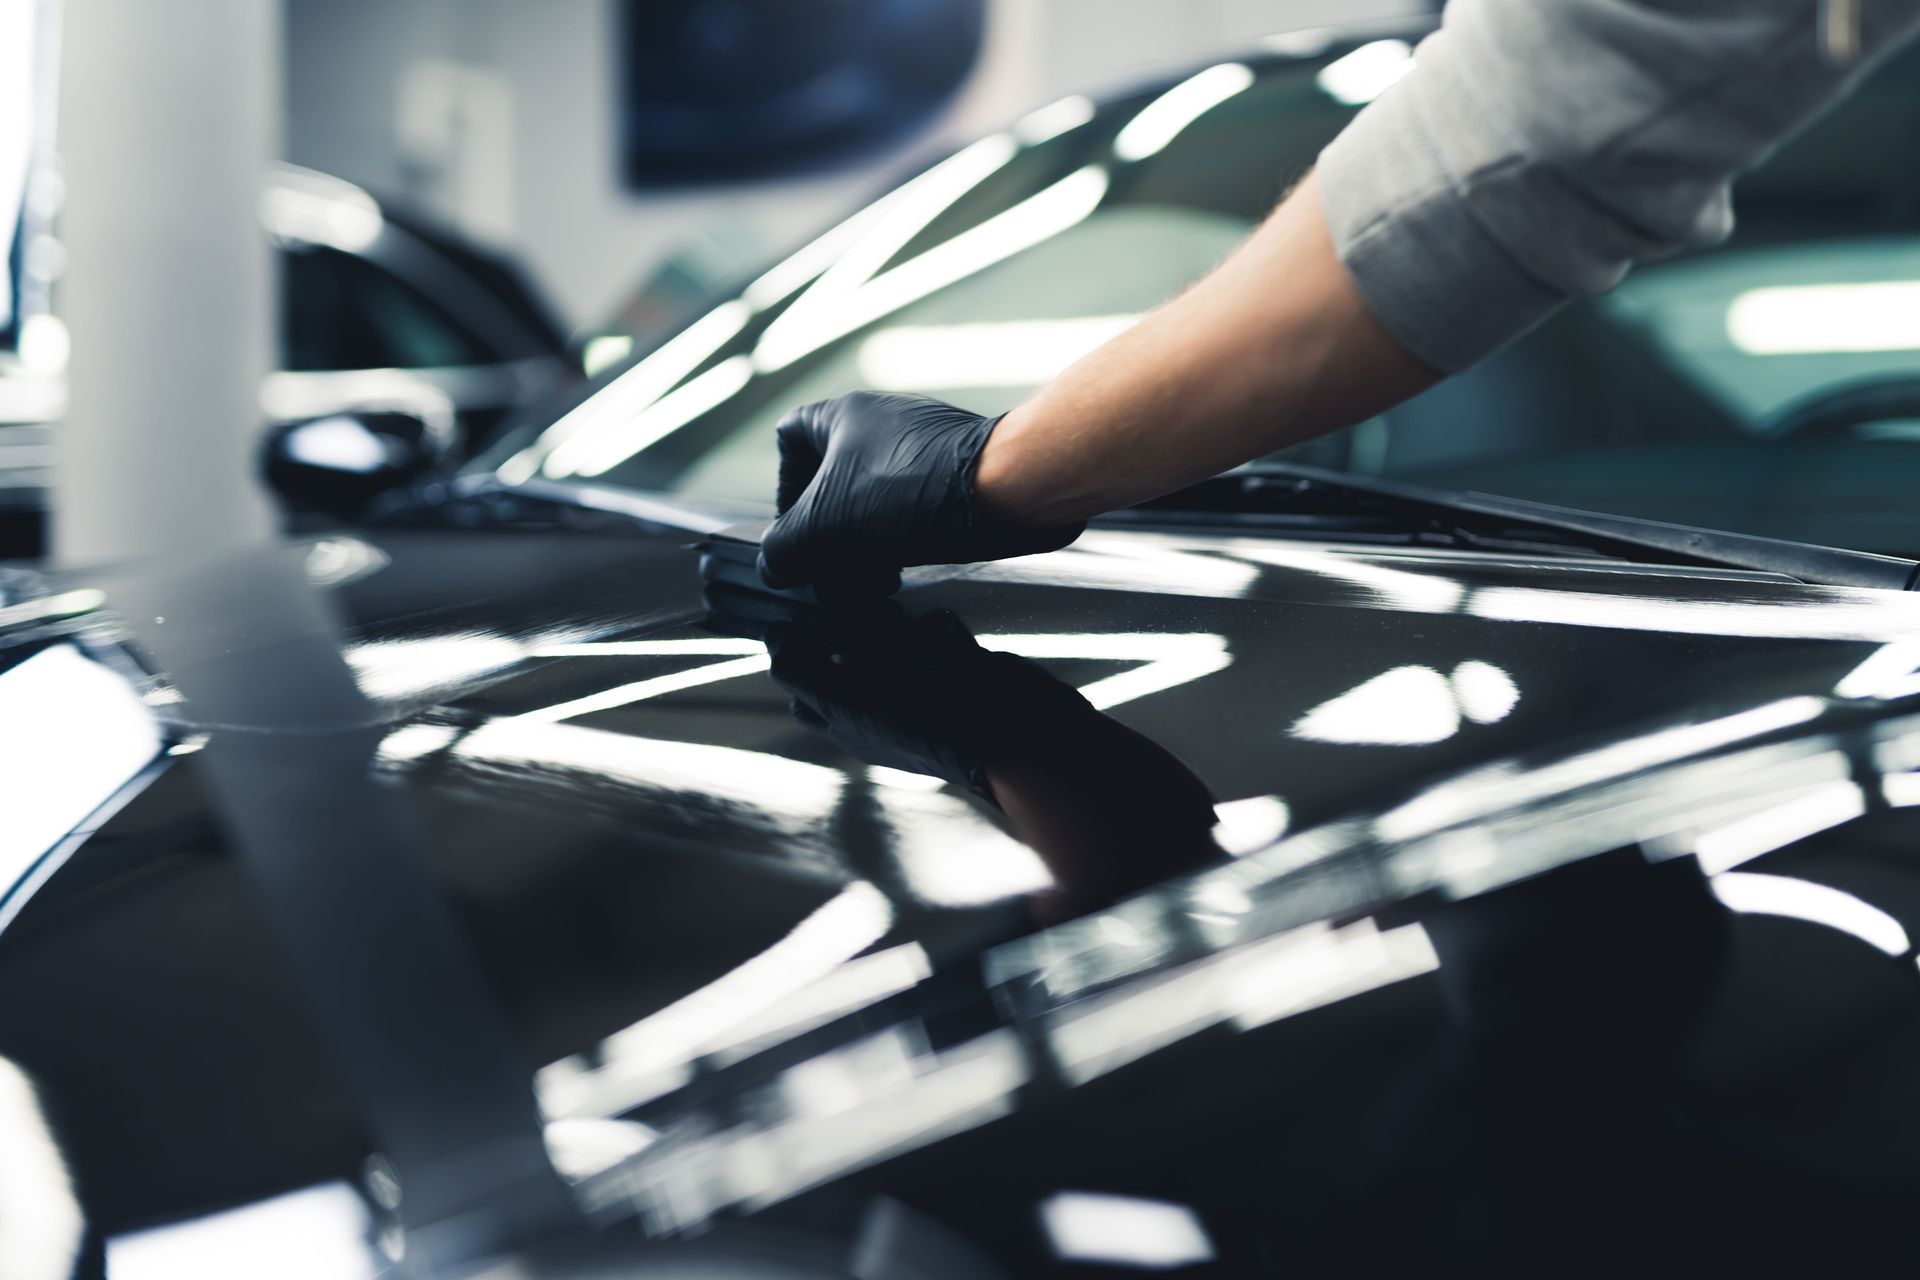
Mechanical Removal
Polishing with a dual-action polisher and cutting pad is the most controlled method. Professionals prefer this approach because it gradually removes the coating while minimizing paint removal.
In many cases, professionals use a combination of both: chemical removal to break the coating down and mechanical polishing to fully clear the surface.
This step is where DIYers most often make mistakes. Too much pressure or the wrong pad can cause holograms, hazing, or burned clear coat—issues that require professional paint correction to fix..
Polishing, Sanding, and Buffing
If medium-grade polishing isn’t enough to remove stubborn areas, sanding may be required. Wet sanding with 2000 to 3000-grit sandpaper can remove hardened ceramic layers, but it is also the riskiest step of the entire process.
Wet sanding mistakes can permanently damage paint.
Professionals measure paint depth with digital gauges before sanding. DIYers rarely have this tool, making it impossible to know how much paint they can safely correct.
After sanding, buffing restores gloss and removes micro-marring. A fine-grade polish will refine the surface and prepare it for the new coating.
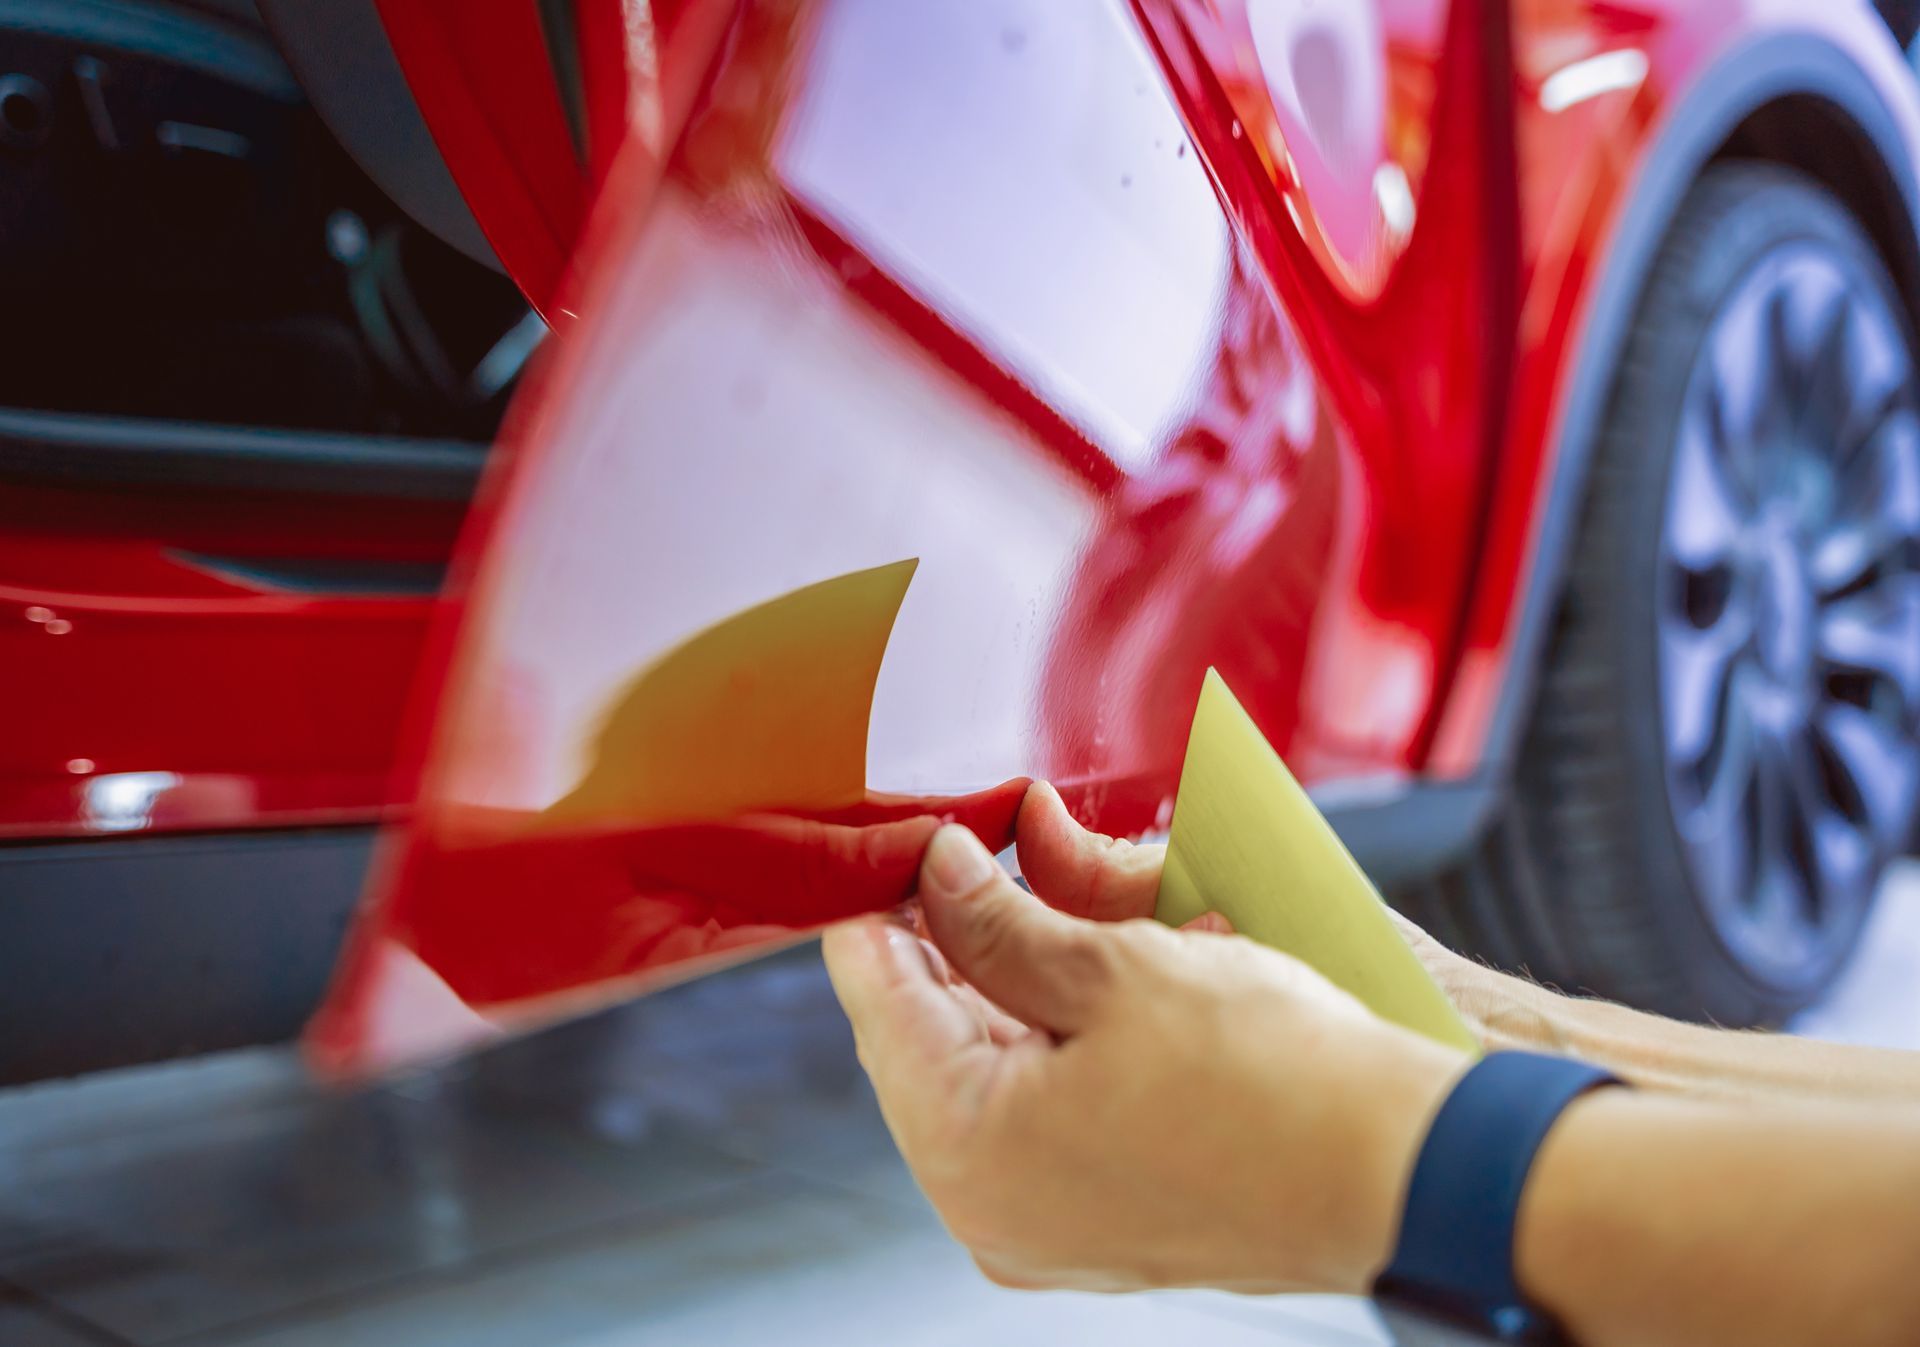
New Ceramic Coating Application Process
After prepping the car by removing the old coating and restoring the paint, the final step is applying the new ceramic coating.
Work in small sections, applying the coating in a cross-hatch pattern to ensure even coverage. Different coating brands require different drying and flashing times, so following the manufacturer’s instructions carefully is critical.
Allow the coating to cure for 12–24 hours. Avoid water, moisture, dust, or debris during this period to prevent defects.
When done correctly, the results are stunning—intense gloss, slickness, and years of protection.
Why It’s Still Better to Go to a Professional
Although this guide walks you through each step, ceramic coating removal and reapplication is one of the most delicate detailing processes. Professionals bring advantages that simply can’t be duplicated in most home environments:
- Precision tools such as paint depth gauges, high-output lighting, and rotary/DA polishers
- Experience diagnosing paint types, clear coat hardness, and coating behavior
- Controlled environments that minimize dust, humidity, and curing issues
- Guaranteed workmanship, something DIY cannot offer
- Higher-quality professional-grade coatings with longer warranties
Additionally, a single sanding or polishing error can cost thousands in repainting. For many car owners, professional installation is not just the safest option—it’s the most cost-effective.
If you want the job done right the first time and want your investment in ceramic coating to last as long as possible, professional installation is the gold standard.
Refreshing or reinstalling a ceramic coating isn’t just another detailing task—it’s a precision process that demands experience, the right tools, and a controlled environment.
While DIY guides can help you understand what’s involved, the truth is that professional installation delivers results that last longer, look better, and protect your paint more effectively.
Ready to Let Professionals Handle Your New Ceramic Coating?
If you're ready to avoid the risks of sanding mistakes, uneven removal, or coating failures, ShineCo is here to help. Our team has mastered the complete ceramic coating process—from safe removal of old layers to flawless reapplication using industry-leading products. Every vehicle receives customized prep work, professional inspection lighting, and application techniques built around long-term durability.
Whether you're upgrading an existing coating or protecting a newly purchased vehicle, ShineCo ensures the kind of finish DIY methods simply can’t replicate: deep gloss, exceptional slickness, and durable protection that stands up to Spartanburg and Greenville conditions.
Give your vehicle the expert care it deserves.
Contact ShineCo today to schedule your consultation and get started with a professionally installed ceramic coating that will keep your car shining for years.
About the Author
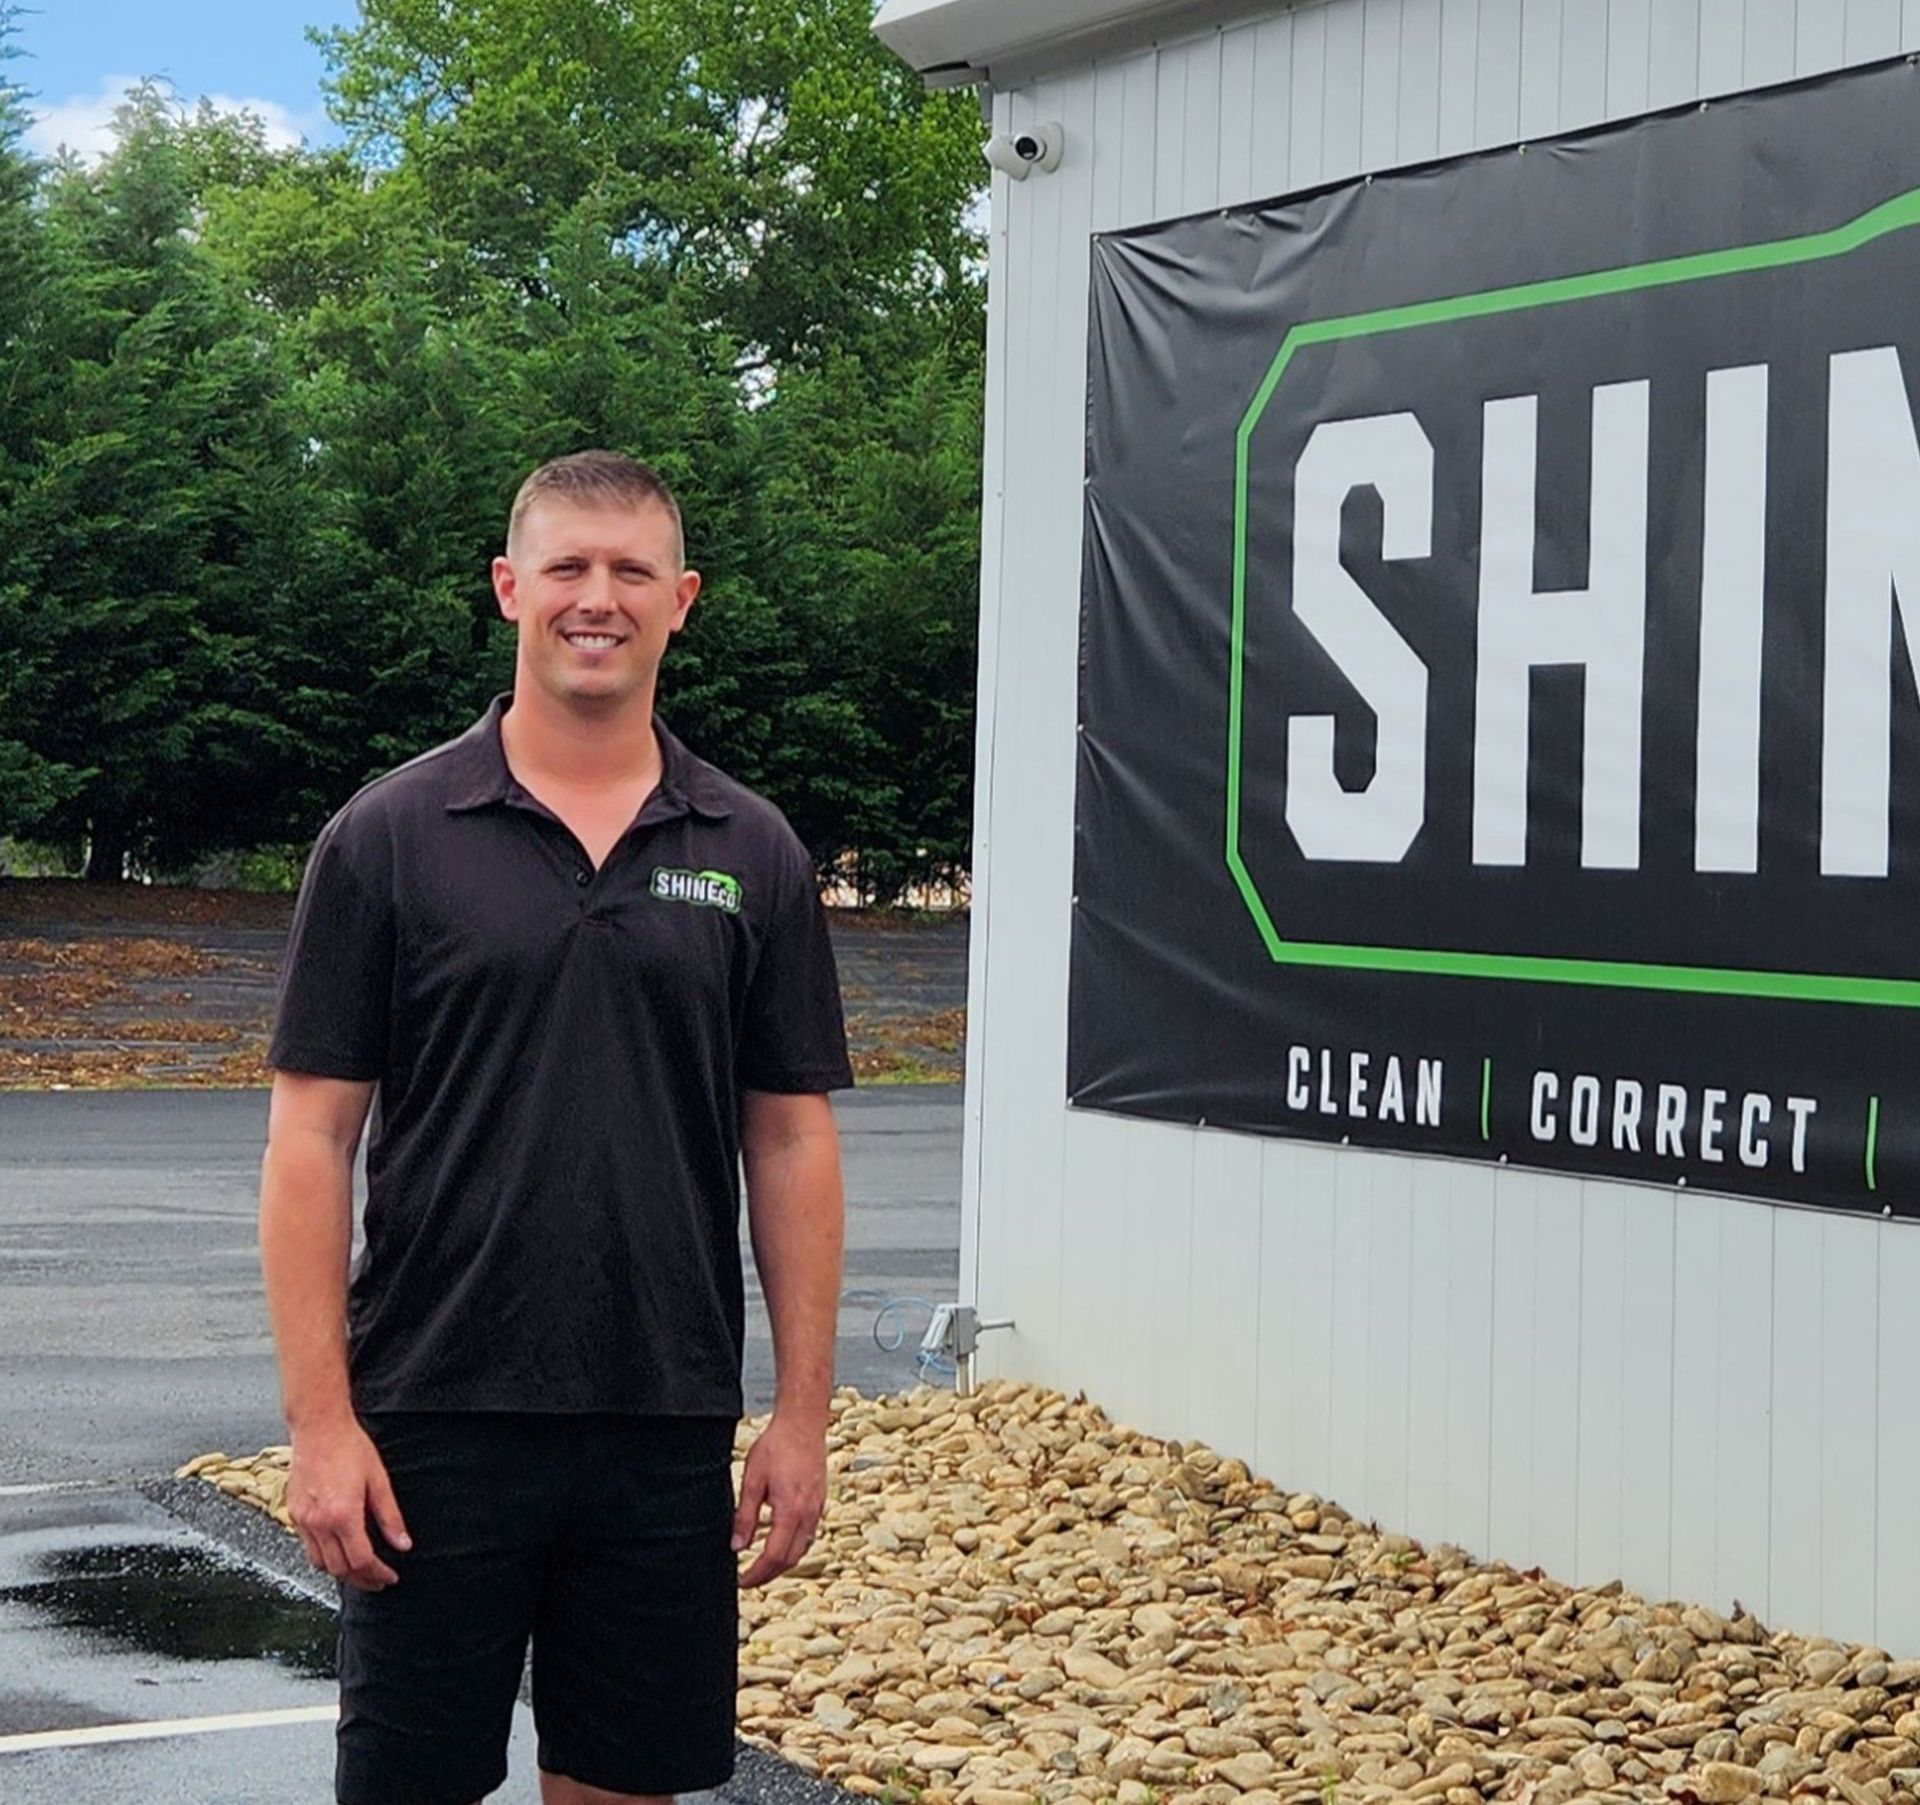
Thomas Kyle Simpson
Thomas Kyle Simpson is the Owner of ShineCo LLC with over 20 years of experience in automotive detailing. Specializing in paint correction, ceramic coatings, and PPF, he leads a nationally recognized team committed to quality and customer satisfaction. His passion-driven approach continues to shape ShineCo’s reputation for excellence.